

Millinery Flower Making
I took a couple months off to travel, visit family (new grand baby), and explore new ways to hone my millinery skills. I had the opportunity to go to England and get some hat business done (mostly supply sourcing), and getting a little private training from a fellow (and very accomplished milliner) on flower making. This was a long overdue training and exploration! While I have spent considerable time learning to manipulate straw and other textiles, beading, wire manipulation, working with leather and moldable plastics, and tons and tons of hand stitching, I have not really had the time to devote myself to flower making. Why you ask? It requires a dedicated space and a myriad of new supplies and tools. My studio is already bursting at the seams. Lets look back on what I have done so far, and what my future holds.
Remember this hat: Flora de Medellin? Look closely at the the silk flowers. I was brazen, using varied textiles to create my lilies, philodendron leaves, and heliconia flowers. These were big challenges because I had limited flower making supplies, and no tools available. But it’s all possible with a little PVA, silk, paint, and wires.

FLora de Medellin headdress, 2019 London Hat Week’s “World of Flowers” Exhibition.
I have also used metal flower moulds, an early days technique that created my generic roses without a need for Japanese tools or skills. These flowers were really useful, but at some point changing the color wasn’t enough. I just grew tired of seeing them on my hats. My need for variety kept growing and surpassed my own skillset.

The “Duchess” headpiece from my “Wo Ai Ni” Collection.
One of my more complex flower attempts were the white and blue hydrangea flowers I created for a Hattalk Magazine submission. Again, without any tooling supplies, I hand cut all the silk petals to create a full stem of flowers. Silk Dupioni was the fabric of choice up until now. It has a great body for petals once stiffened, but the edges would often unravel due to its weave. The work around to the fraying is applying more stiffener to the silk. However, the stiffer the petals, the more difficult it is to shape. There has to be a nice balance and it’s different with each type of textiles.
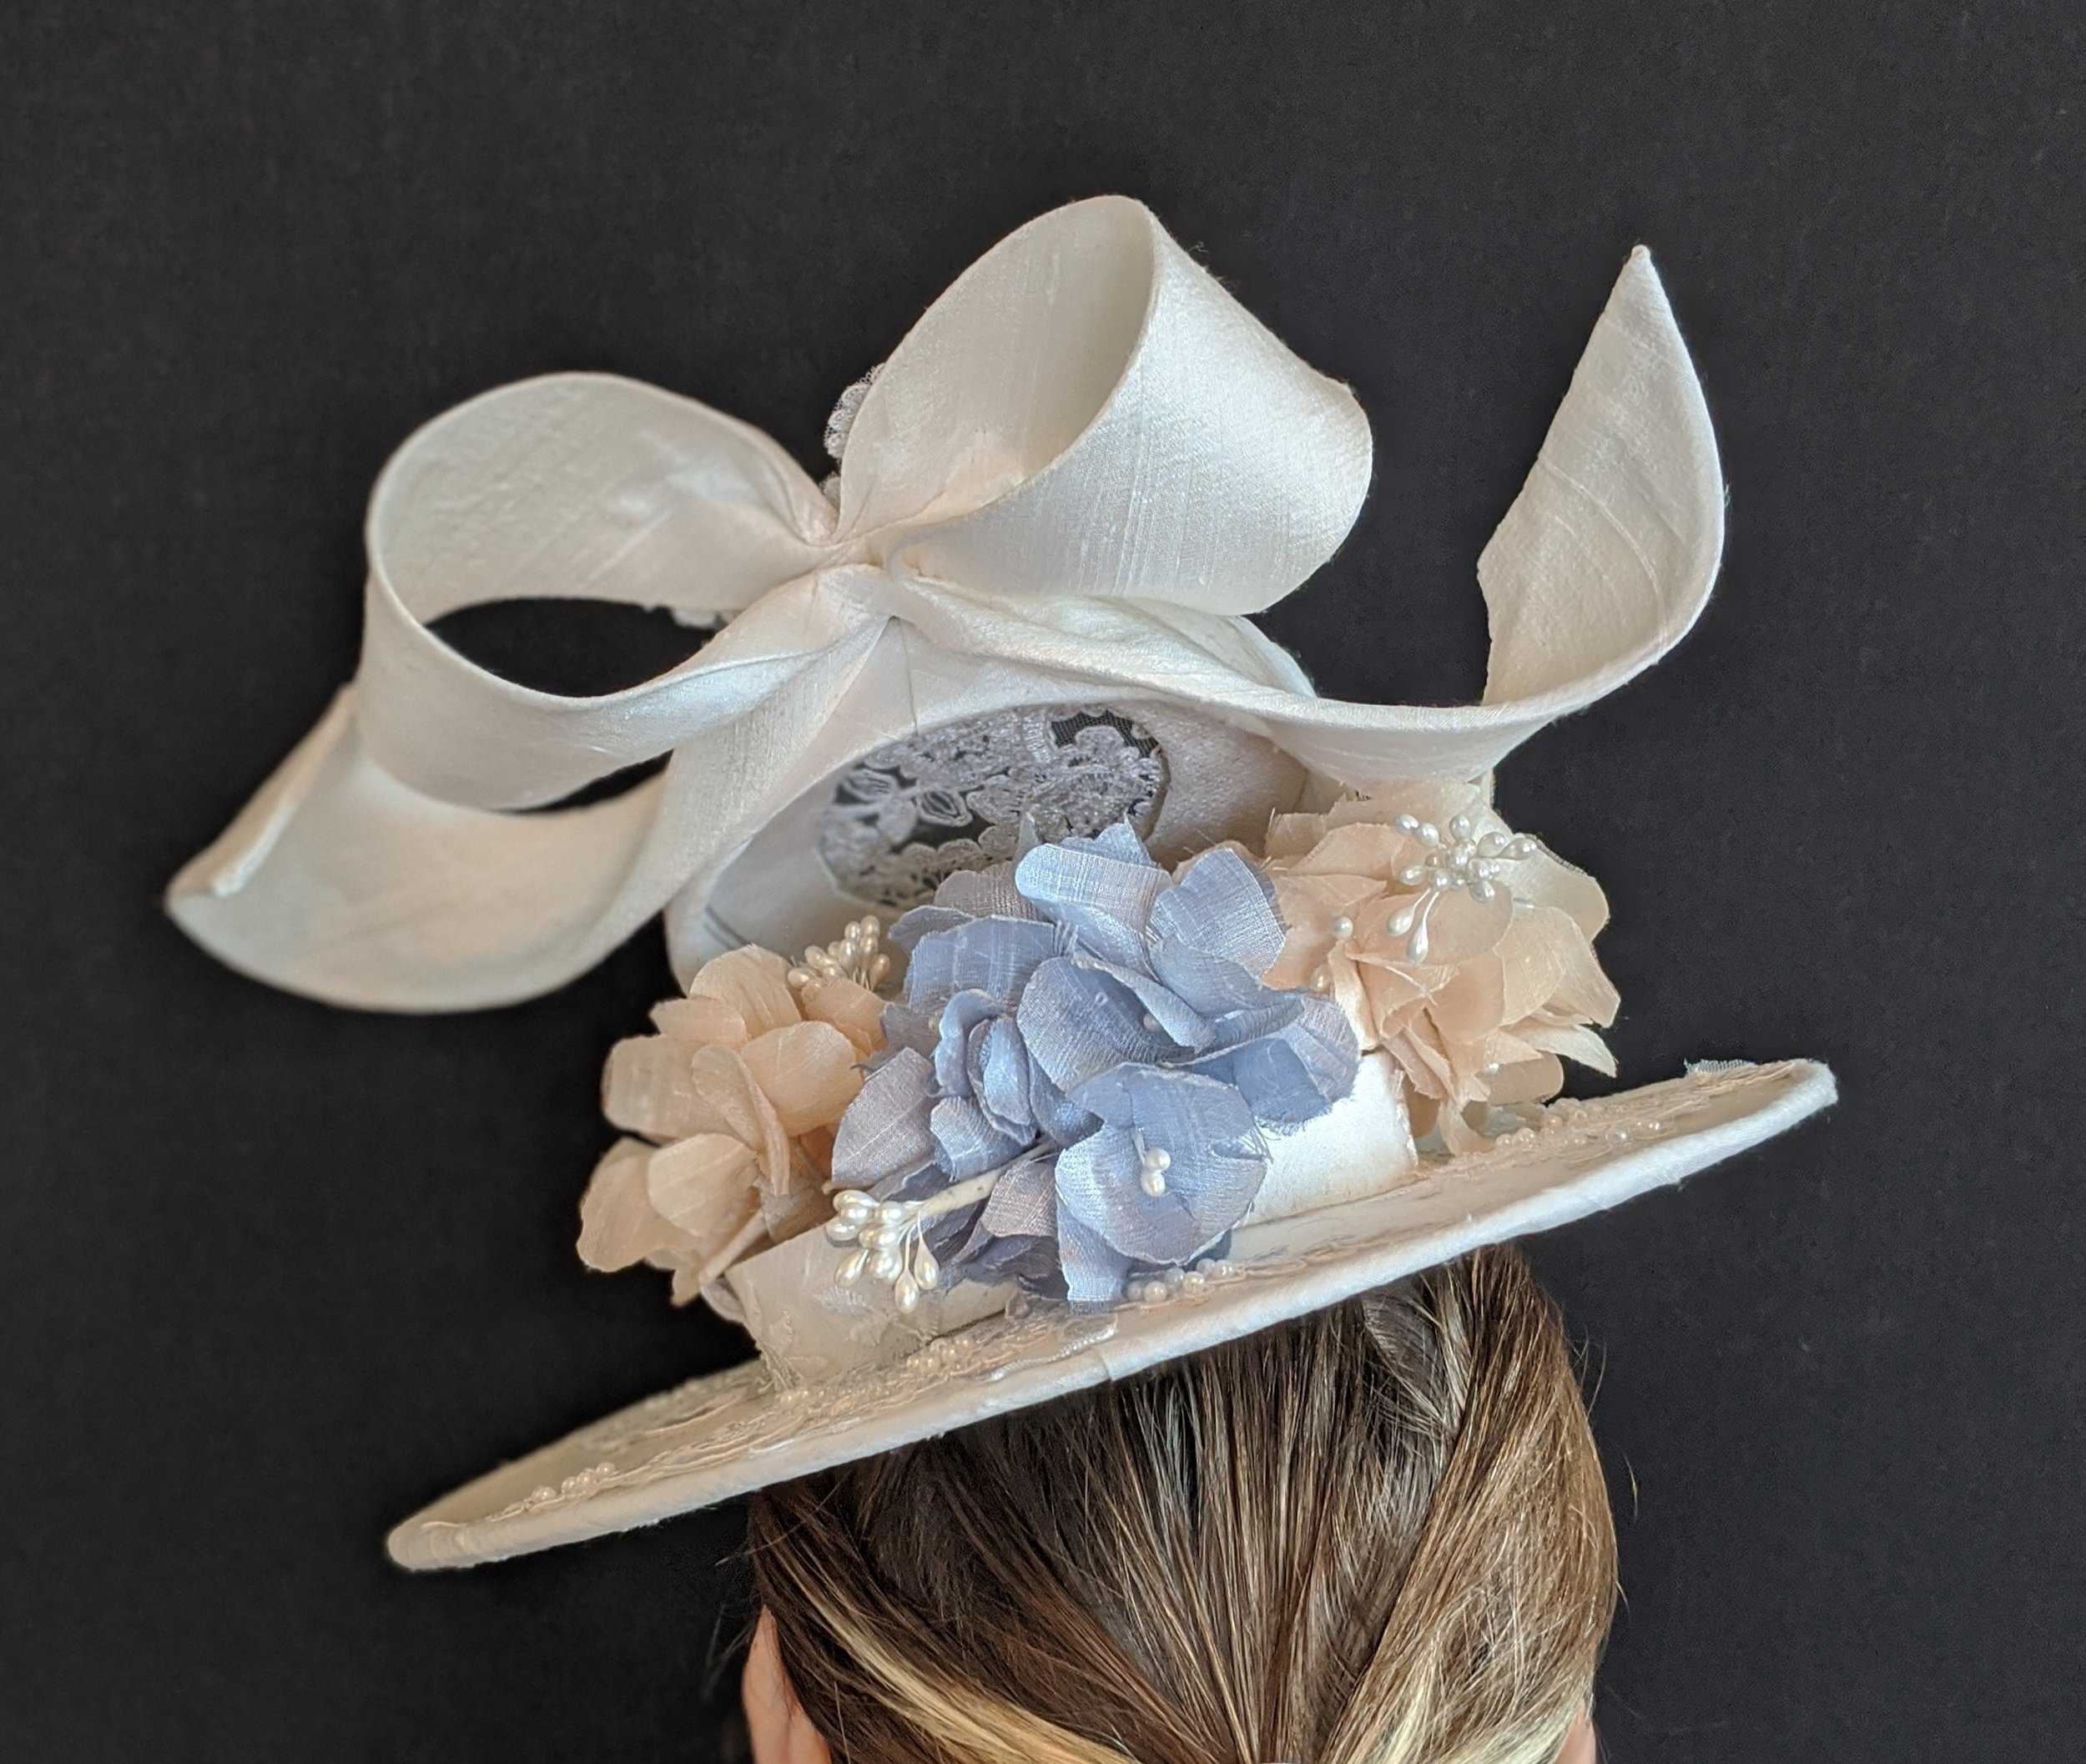
“Say I Do in Central Park” hat with hand cut hydrangea flowers made of silk Dupioni.
With a little ingenuity and creativity, many beautiful things can still be made. We often think that we need many tools, when in reality we can start small and build up from there. Even with an early purchase of some Japanese heated flower making tools, I still felt that traditional flower making could be had with just my hands. My admiration for Kanzashi style flowers became a reality with my Pandamonium hat, (now archived at the Texas Fashion Collection in Dallas). Kanzashi is another technique that required many hours of research and practice. Don’t ask me how long it takes to master this!

Pandamonium FRONT view wit Kanzashi flowers.

Pandamonium BACK view with more pandas and Kanzashi flowers.
There are many options available with Kanzashi, and the modern techniques allow for animals, and other shapes as well. This technique is great for decorating soft goods and other accessories. Originally used to adorn the heads of Japanese women, this folk craft have made its way around the world.
Getting started on a new technique is difficult. My brain feels paralyzed at the thought of setting up a new place to work. I am a professional crafter. There is little that I won’t try to learn or even master. The only thing that stops me is space. I have found that a single location must be used in multiple ways. My laundry room is also my pantry and storage annex for my sinamay. There is a lovely desk in there used for the following: blocking hats, drying blocked hats, stiffening straw, dyeing, and now flower painting, and tooling. The only way to make this successful is to clean up my work after every project, and never leave anything out that couldn’t be put aside in a few minutes.
I am not the perfect organizer, but I am driven when it comes to controlling my mess. What I can’t up-cycle gets recycled or donated, and ultimately thrown away. It is a sad moment when a leftover has no use except to clutter. How about this for alliteration? “A crafter’s clutter, clogs her creativity.”
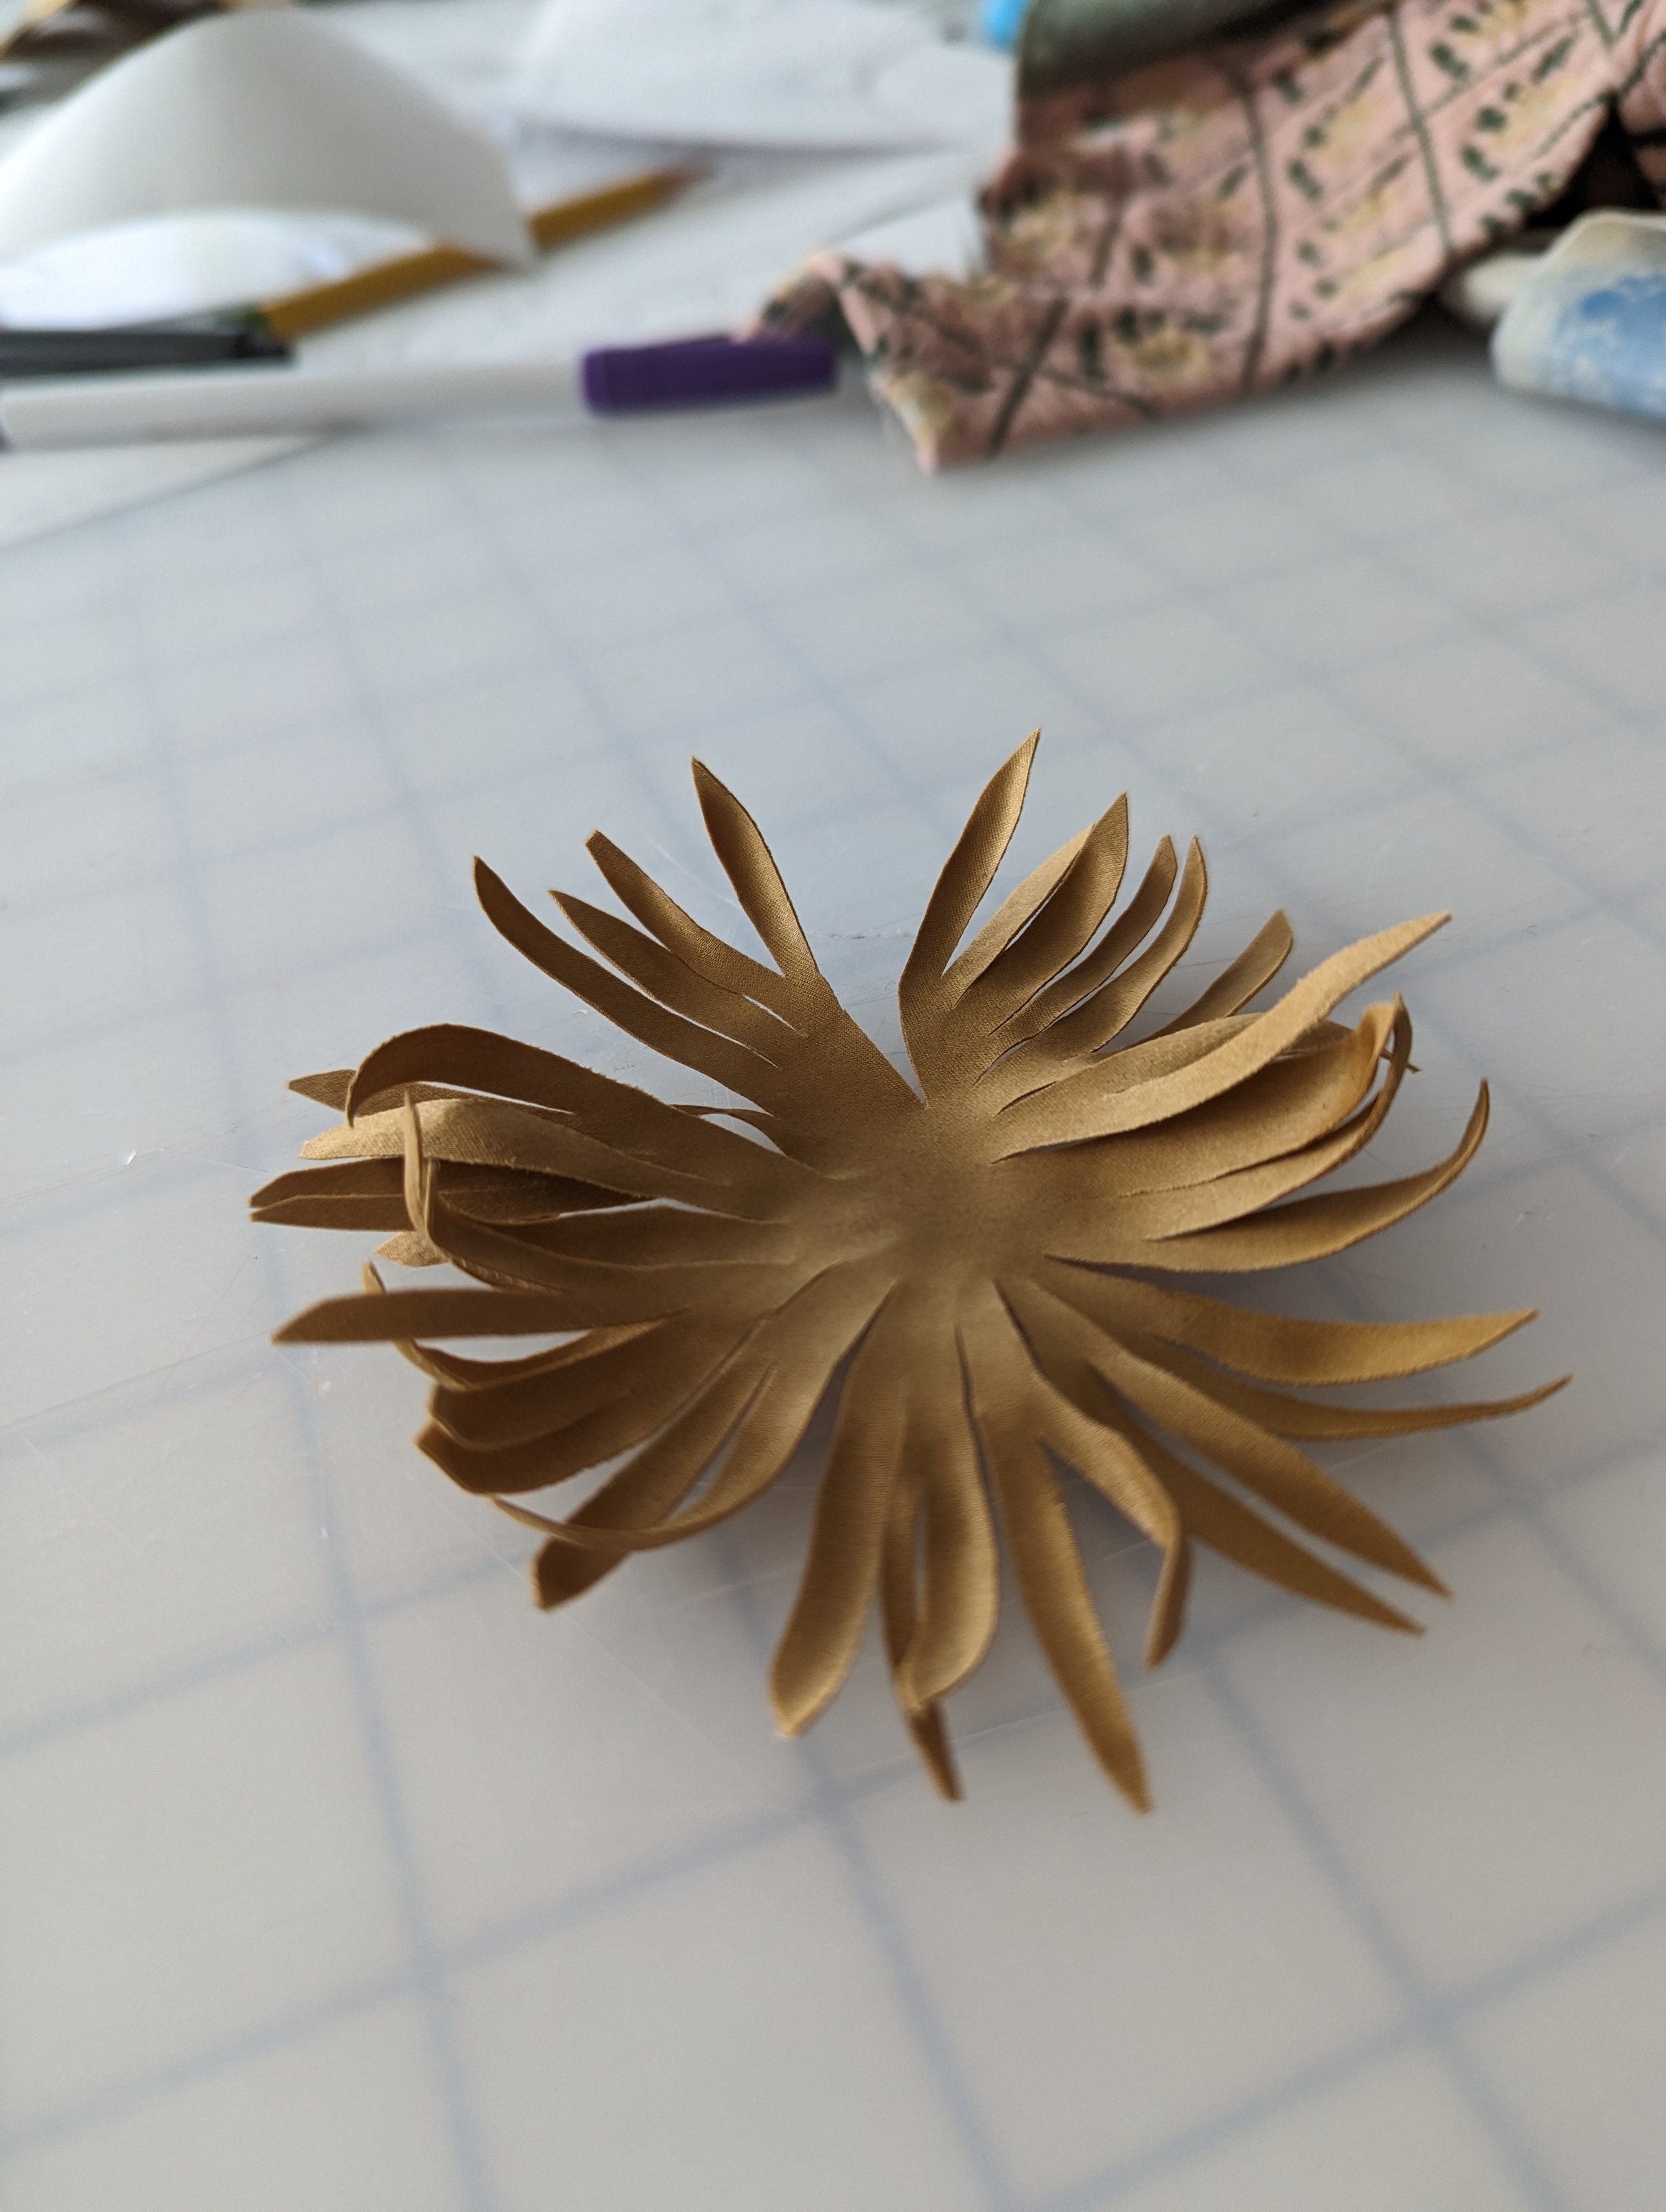
So after repurposing an existing space for flower making, I have started to play with the chrysanthemum flower shapes using my existing silks. I spent a week stiffening and drying a variety of silks for testing. I found my first cut petals to be okay and stiff enough (see yellow/gold silk pic below). The red is made from a vintage Cherimen kimono and includes individual 32 gauge wires on each petal. (Must of been a 100 pieces cut into various lengths.) It took me a whole day to make the petals. It isn’t a complete flower—missing the leaves and calyx. I lost steam by the time I finished gluing all the tooled petals. Both samples were double sided, but the red one is lined with a contrasting red Hobatai silk. Next week will be tulip samples, and then some tropical ones before I brace myself for miniature buds like Queen Anne’s Lace (Baby’s Breath).
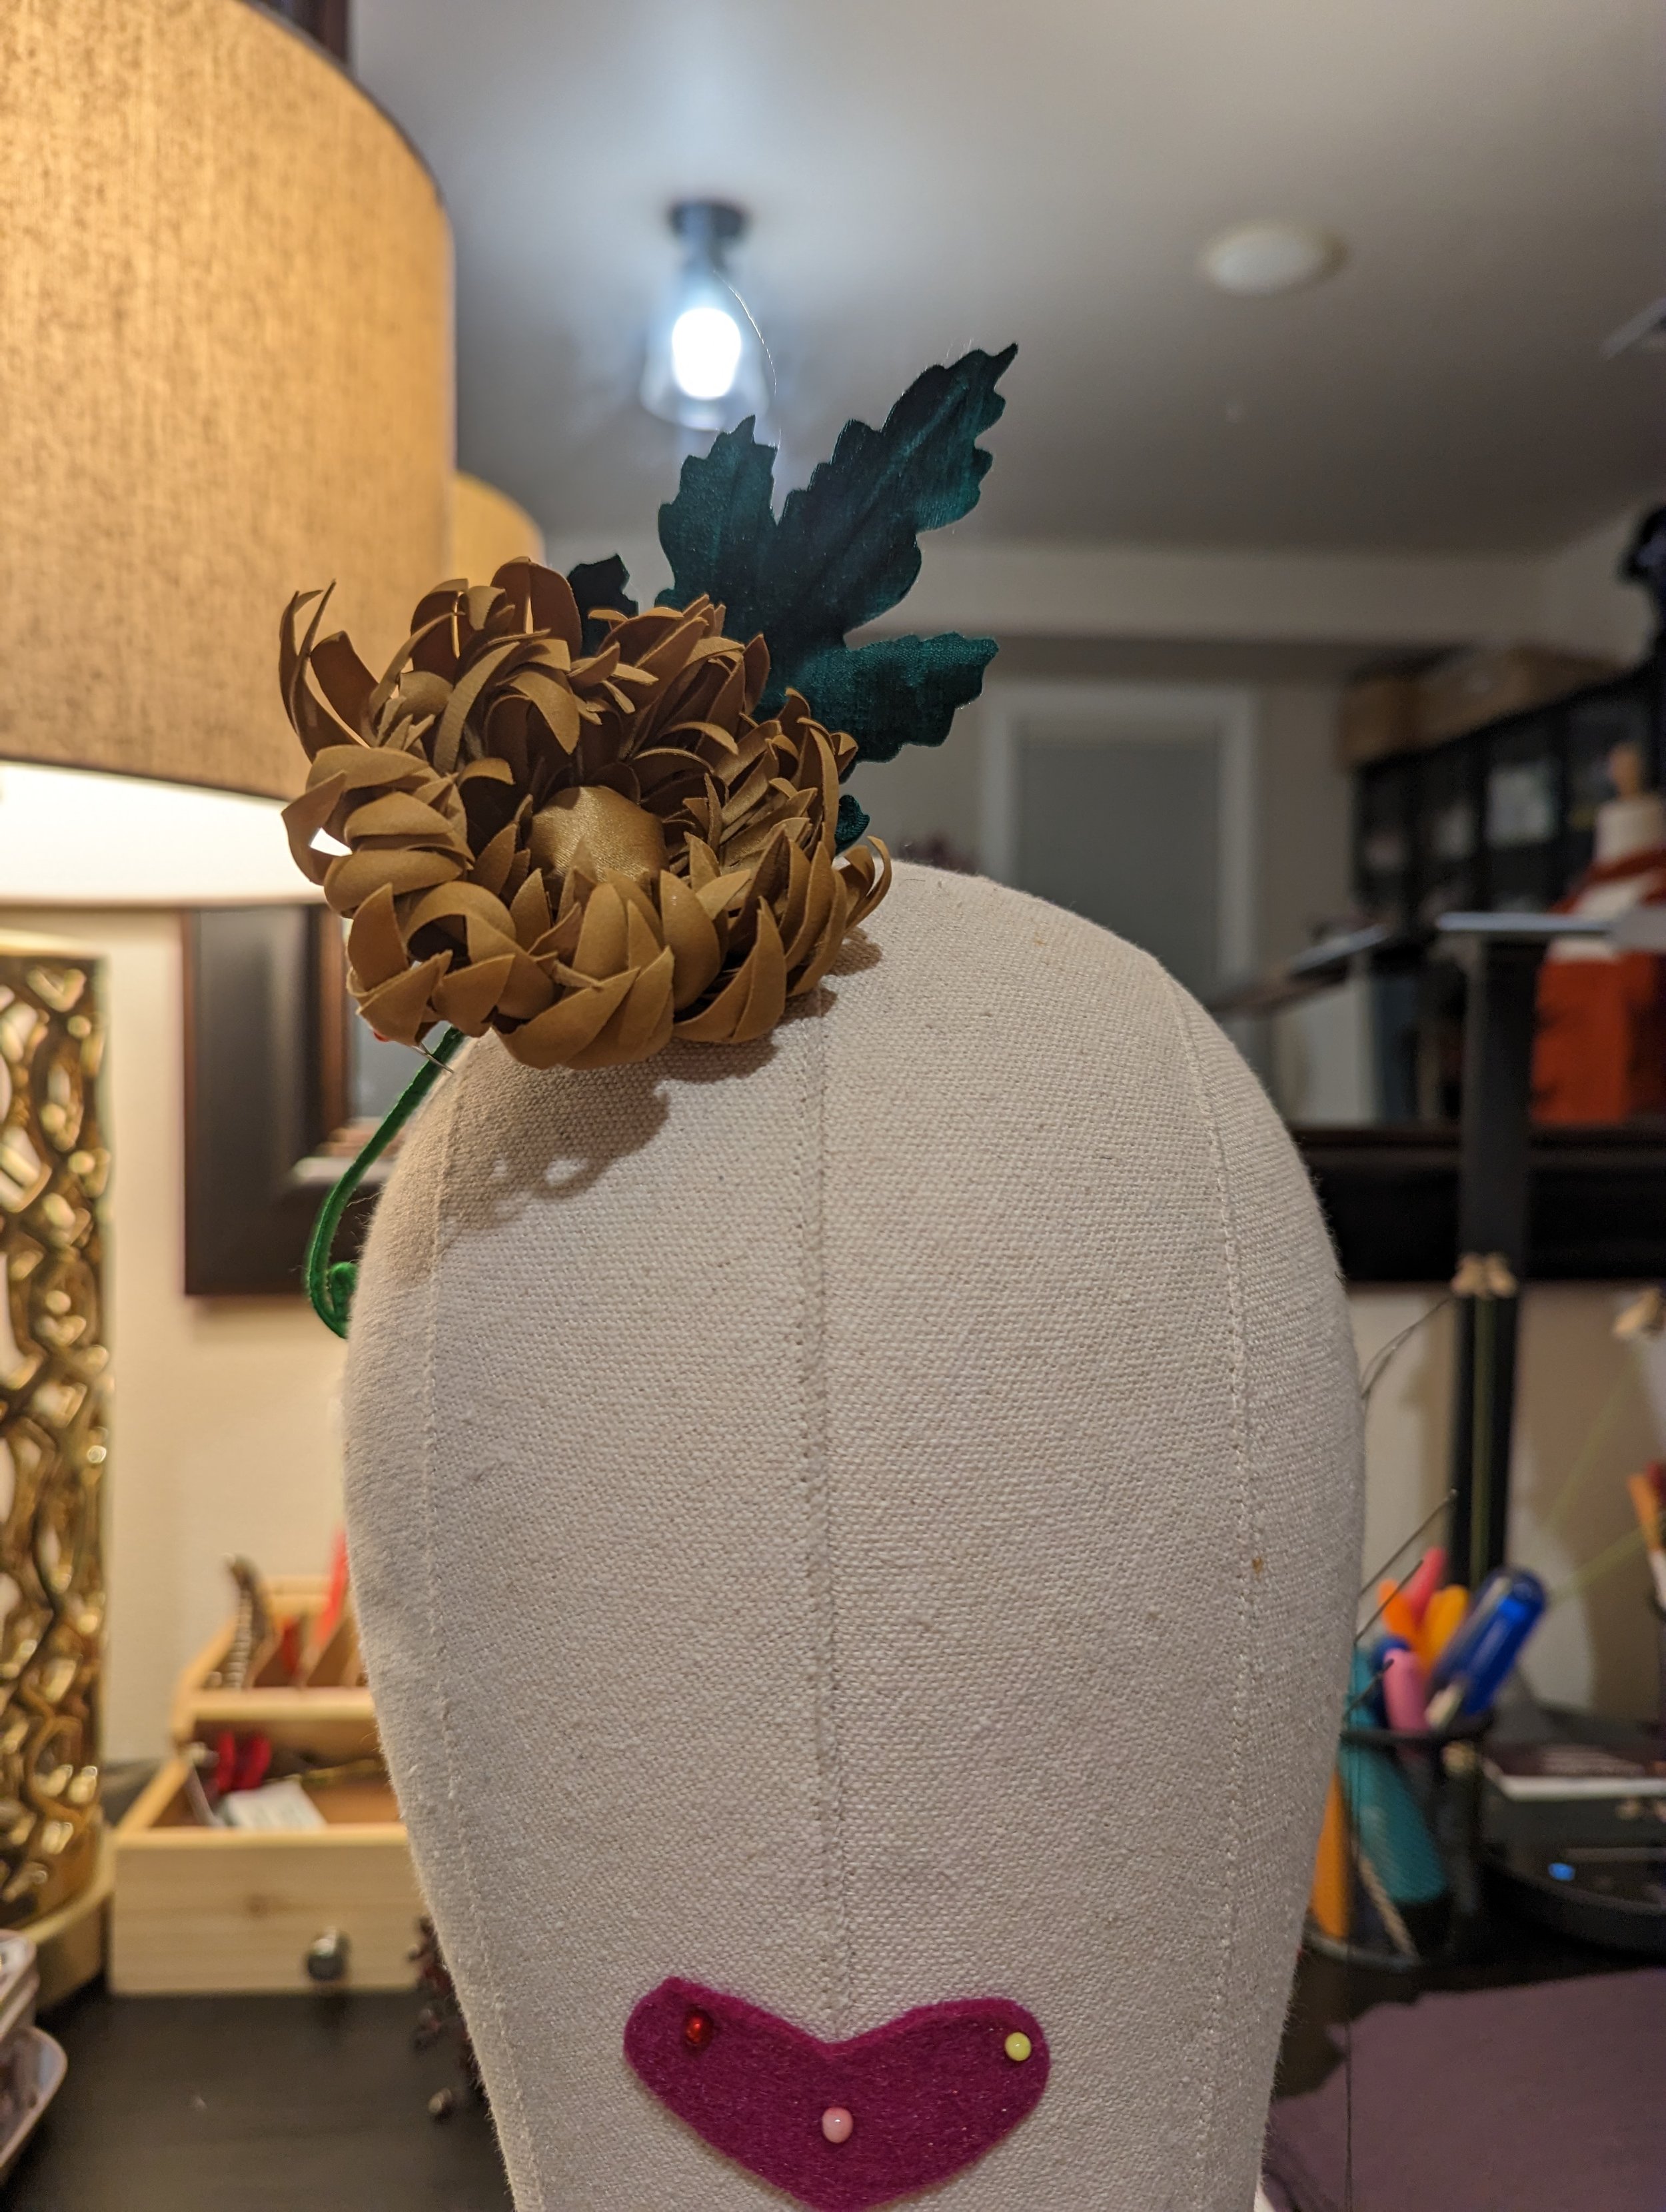
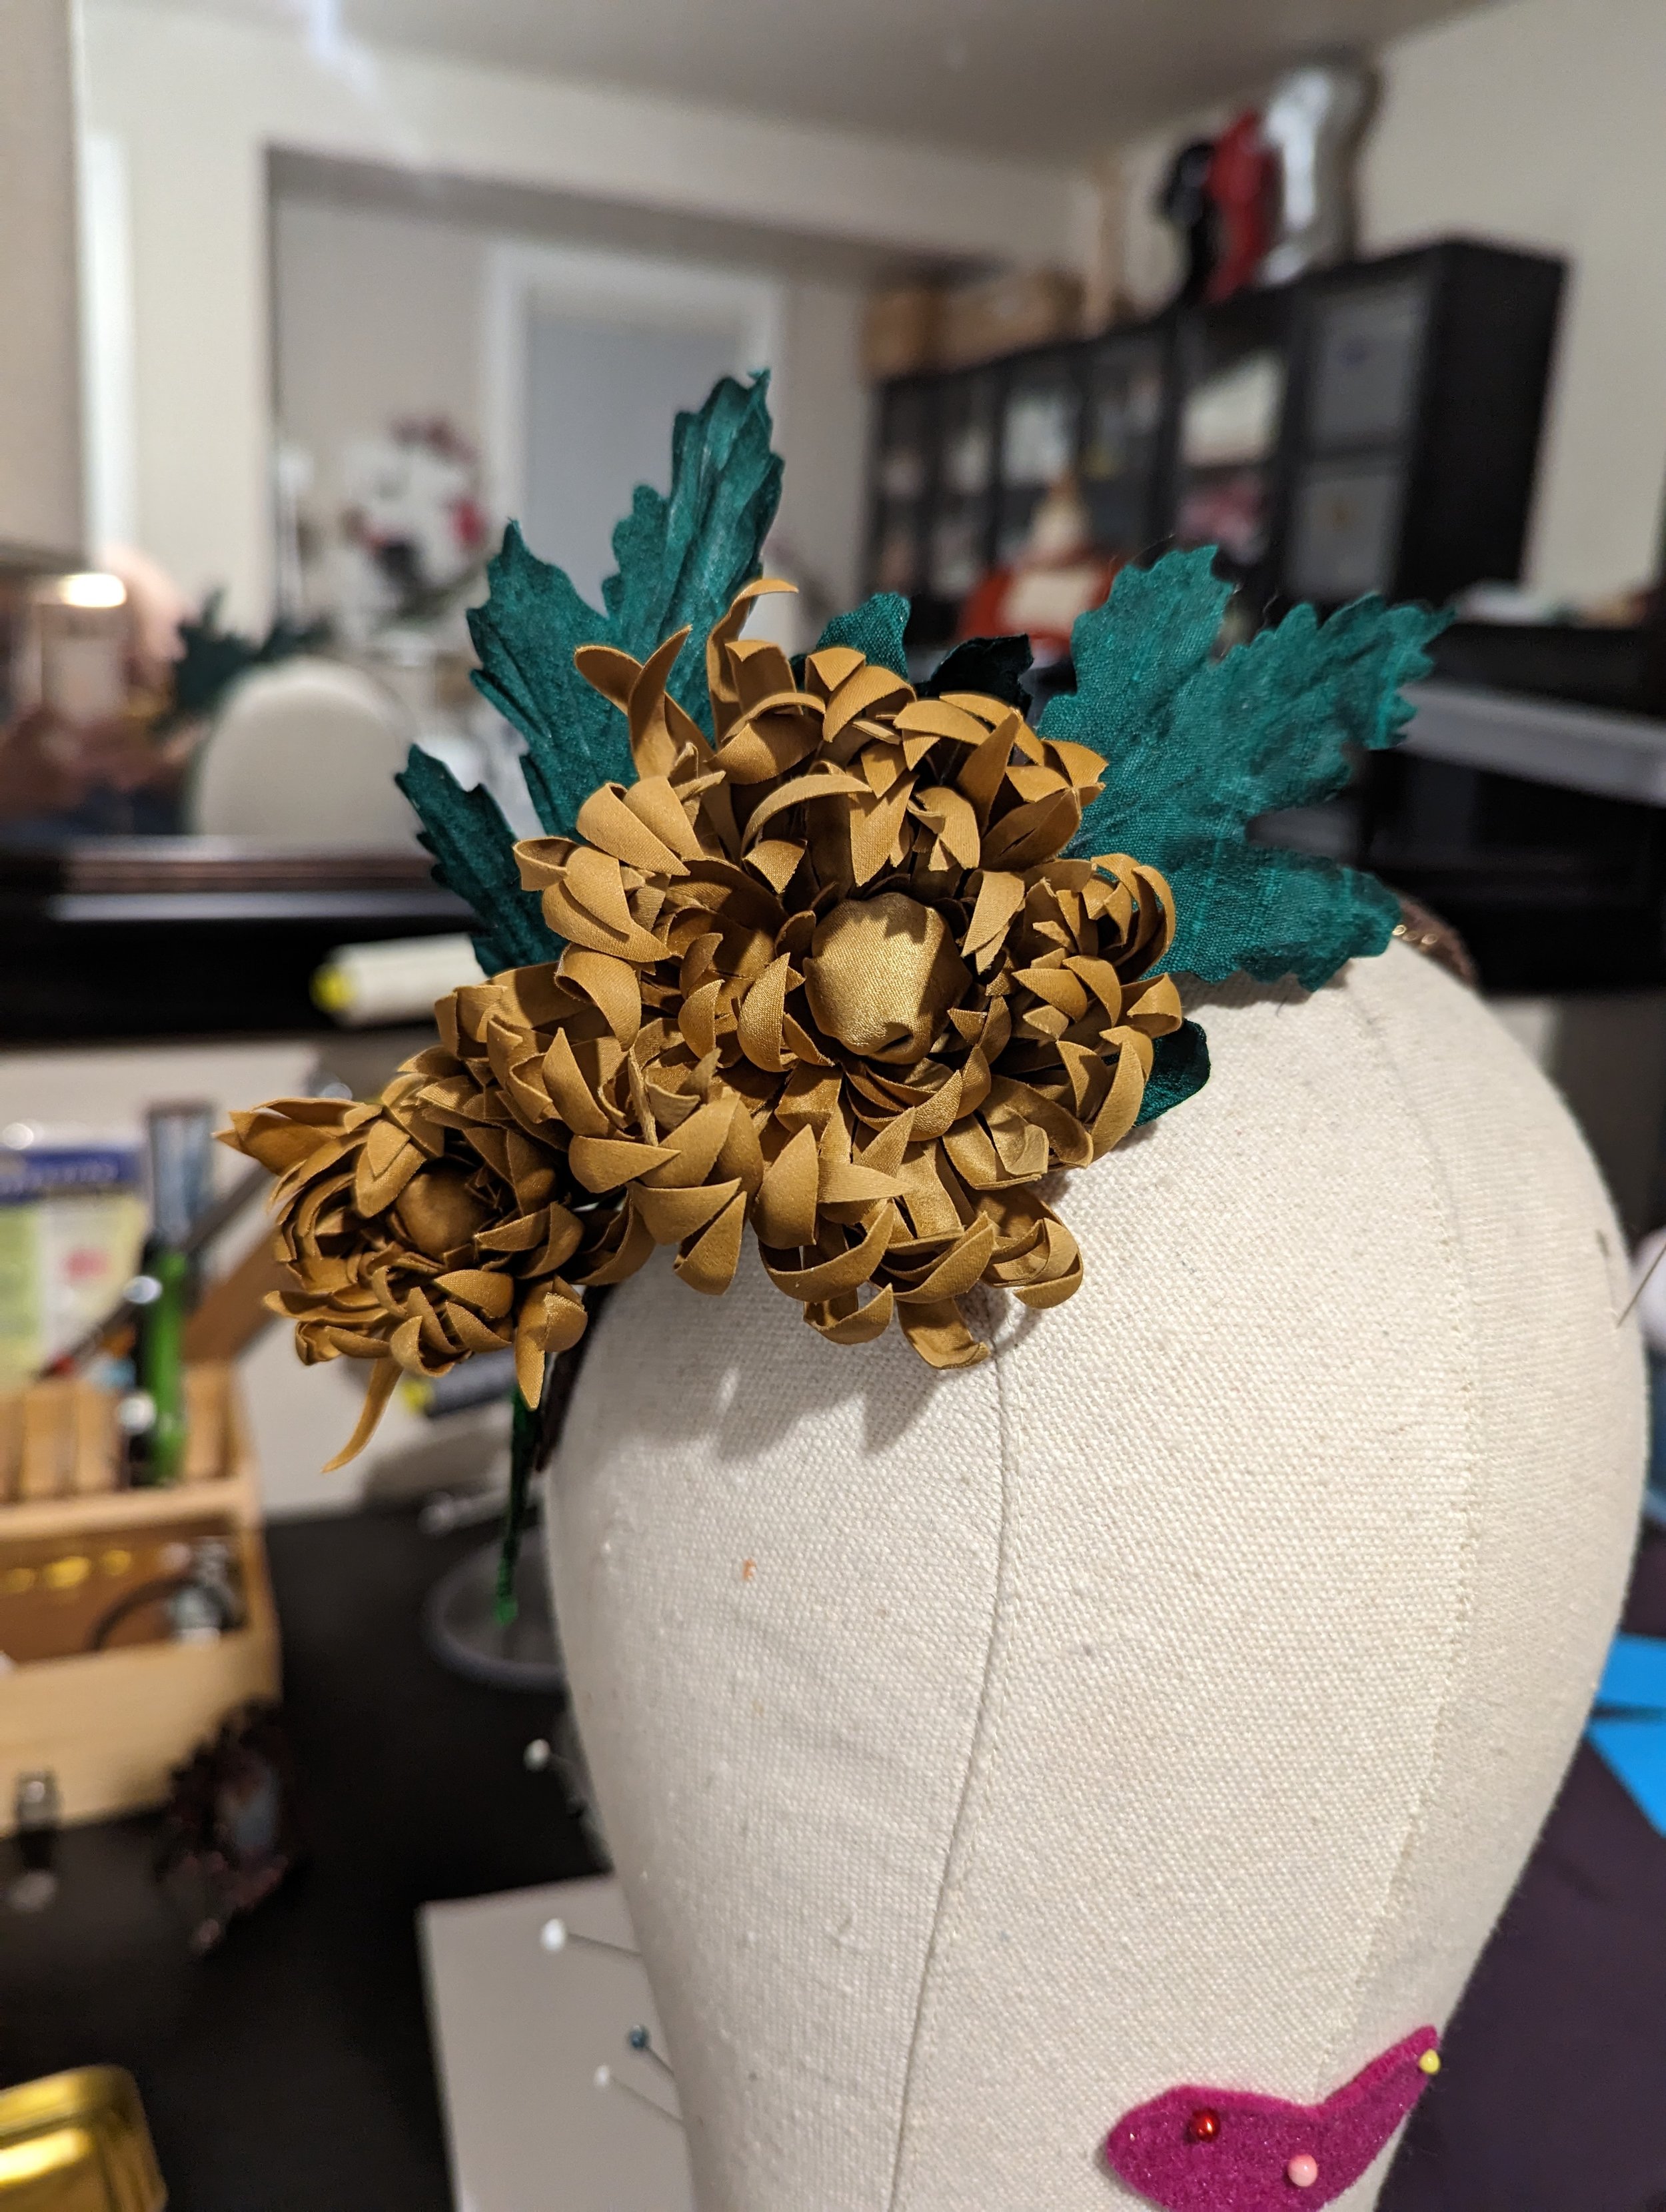

Made with vintage kimono made of Cherimen silk and lined with a layer of red Hobatai silk.