

Dyeing Straw
You might be surprised to discover that there is very limited information available on YouTube about the art of dyeing straw. Personally, my experience with dyeing has been primarily focused on flower petals and leaves, which is more akin to painting rather than traditional dyeing. Unfortunately, relying solely on suppliers for a straw hood or capeline in the perfect color is often a challenge. I've seldom come across the right shade, except for natural or white options. Additionally, I have a great fondness for vintage straw quality, which has become increasingly rare. Many vintage pieces arrive faded, yellowed, or in less-than-desirable colors. Dyeing is the only solution to revitalize and enliven old straw.
I cannot emphasize enough how essential it is to have adequate space and tools for running a successful millinery business. As I embark on yet another step in the process, I find myself hindered by a lack of space. My laundry room serves as my pantry and multi-purpose room, leaving me with limited room to maneuver. After spending an entire day clearing up my workspace from flower tooling and straw stiffening, it becomes my dyeing center.
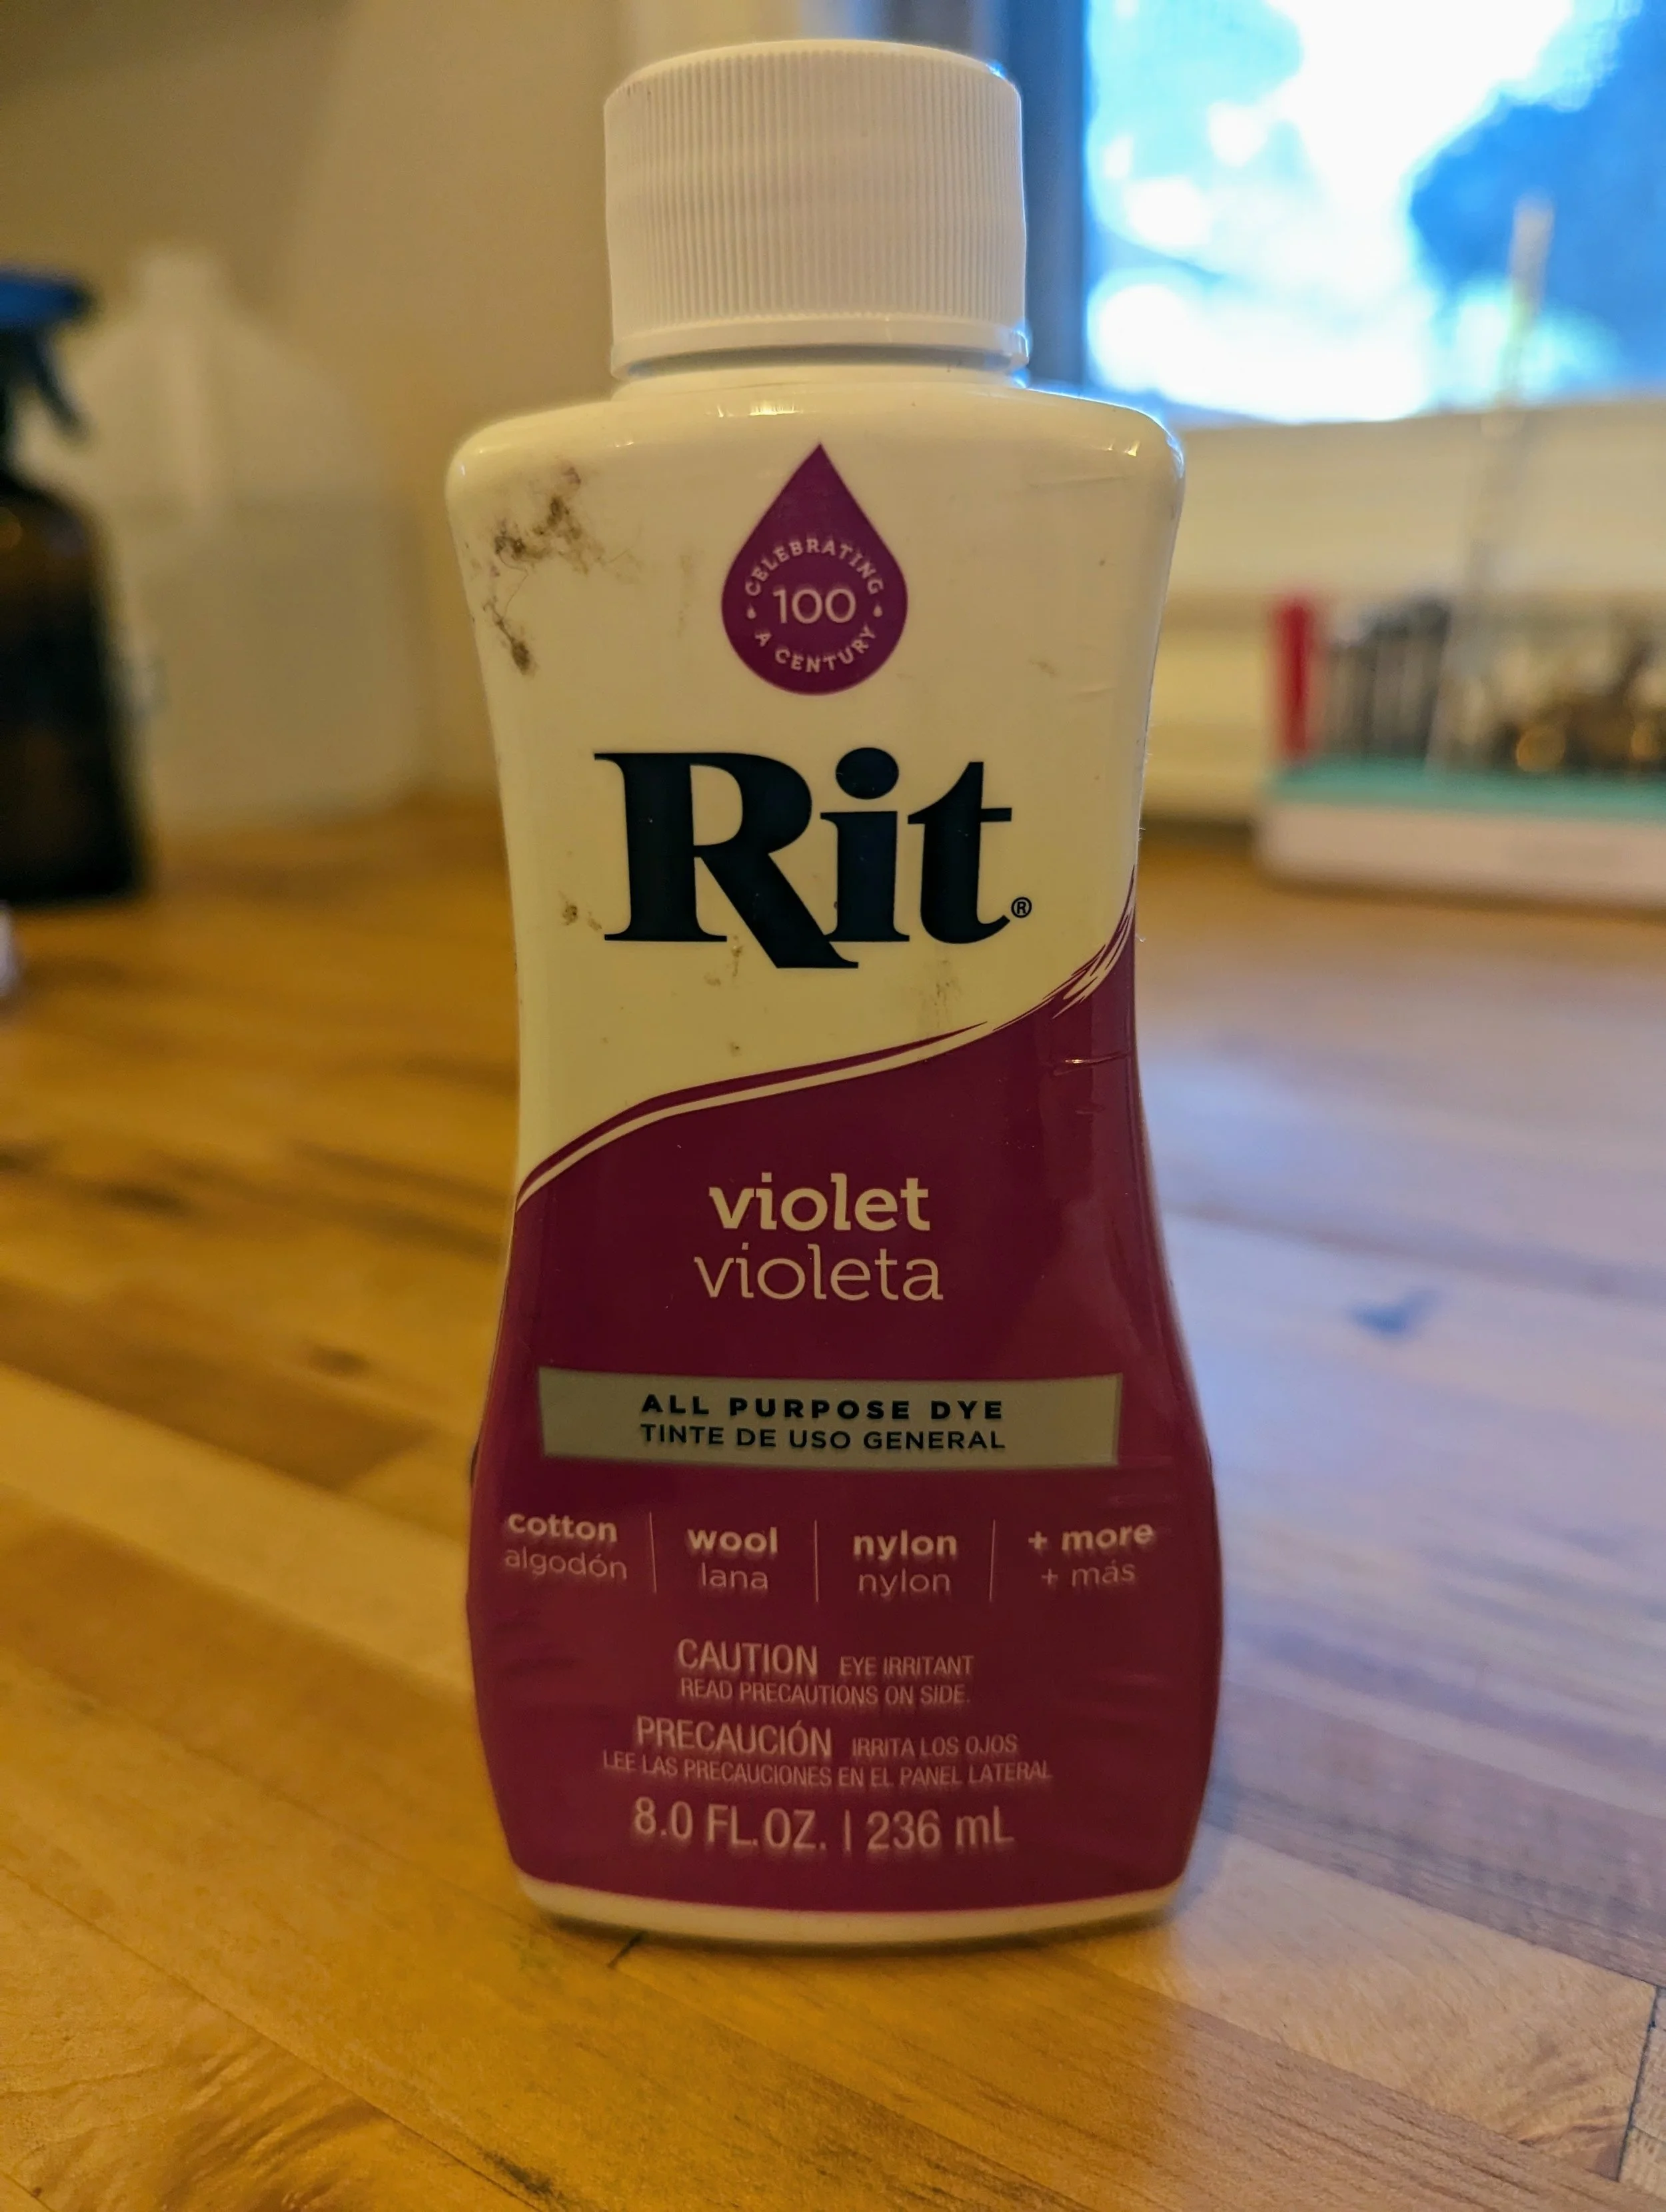
For those of you who may feel apprehensive about dyeing due to the required tools and supplies, I highly recommend starting with Rit Dyes. They come pre-mixed, offer a wide array of colors, and are relatively affordable. Unlike traditional dyeing, Rit Dyes do not require soda ash. While Rit suggests using a color fixer after dyeing, I personally opt not to, as the straw won't be washed like clothing. Rit always blends popular modern colors to match the in-season clothing trends. There's a good chance that a client may select a new dress featuring the "Color of the Year." Today, I've chosen a 4 oz bottle of violet dye for the task at hand.
I hope these insights help alleviate any concerns or uncertainties you may have about dyeing. Remember, starting with Rit Dyes can provide a convenient and accessible entry point into this art form.
Rit Dye has a pretty easy to follow video on their website. I highly recommend watching it if it’s your first time. The ease in which the model dyes her fabric will give you tremendous confidence. You can also read helpful information here as well: https://www.ritdye.com/instructions/using-rit-all-purpose-dye/
The Rit bottle also contains the basic instructions. Before you begin, you will need to get a large box of ordinary table salt. I only had chunky sea salt which was probably too nice for a dye project but I didn’t want to make a run to the store. Salt is crucial. I also used an electric water kettle which made heating up a batch of boiling water easier. You don’t need boiling water, but it’s nice to add a kettle of it into your warm tap water, and it helps melt the salt faster. You also need to add some dish soap, and have gloves, a towel, a metal spoon, and two buckets. I like dyeing the hats in one bucket, and transferring the dyed hats to the empty bucket for rinsing. It makes the process tidier.

I also took apart a hat with a completed button, and threw that into my dye batch. You see it here floating on the top. The whole dyeing process only took an hour.
I let the straw sit in the dye for 45 minutes before rinsing. It is true what they say about finger prints and blotches. My straw button turned out very blotchy. I also dyed a pre-stiffened vintage buntal straw that was a faded vanilla color. This piece did not come out very even most likely due to the stiffener. The two new straw pieces, a natural knotty straw, and white parasisal turned out lovely. I dried them in the shade, but it’s still triple digits here in Austin, Texas.

This violet was my favorite color in high school. I had many outfits and jumpsuits in this shade. Look how fairly consistent the dye turned out.

Here’s the premade button. It’s a bit wrinkly, and the creases are noticeable. I would not recommend doing this experiment. I might try painting it with dye next time.

The inside of the button base is sinamay straw. The outside is Parasisal. What is nice about the dye is how well the inside sinamay took. Even though I didn’t intend to dye any sinamay, I know the Rit dye is a good option.

This is the brim of the dyed button. I think it is slightly blotchy. I plan to use this as trim so it might be acceptable.

This is the stiffened vintage buntal. The brim came out uneven, but the capeline is still very useable.

This new bleached parasisal took the dye very well. The variations in the straw created nice texture. I can’t wait to stiffen and block this capeline.

The final capeline was this knotty straw. What a beauty this is, and the knots took to the dye so well! I love the texture. This is the only piece I have left and now I am considering more. This capeline was originally in a natural straw, and it looked dull and dirty. The violet dye really gave it a new life.
Dyeing uses a lot of water, especially during the final rinse. Although Rit Dye indicates their products are non-toxic on their website, others have mentioned there might be some harsh chemicals lurking in there. Procion powder dyes take to textiles well and less washout into the water. But there has also been mixed reviews about these types of reactive dyes as well. Limiting my dyeing is always a good choice, and doing large batches is probably prudent. I do plan to look into plant based dyes next in the future.